Little Tutorial
In this guide we will understand how to create a profile for our backup. The profile can be used whenever we need to make a backup.
Make a profile
First you need to create a profile for backup. To do this select from File menu: New Profile
At this point you will need to fill in the mandatory fields with your values.

Required fields
The mandatory fields are only 3: Label,Source,Destination
| Field | Description |
|---|---|
| Label | A label for your backup |
| Source | the source folder where the data is stored |
| Destination | the folder where the data will be secured |
Optional fields
| Field | Description |
|---|---|
| Delete file from destination | if you delete a file in the source folder it will also be deleted in the destination folder |
| History | will create a folder with the date containing each backup |
| Exclude path from file | A simple text file where to put the list of files and folders that should not be copied |
| Log File | A log file |
| Execute before | A command to execute before the backup |
| Execute after | A command to execute at the end of the backup |
Schedule fields
These options take effect only if you enable the scheduler from File->scheduler->enable. This will load an instance of the scheduler (pobkupd) at the PC login.
| Field | Description |
|---|---|
| Every Minute | back up every n minutes |
| Every Hours | back up every n hours |
| Every Day at | back up every day at this time |
Save profile
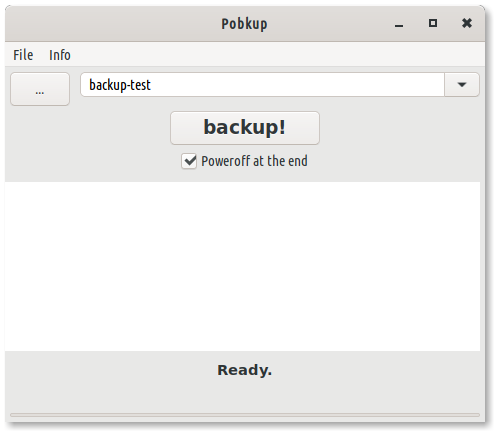
At this point we are ready to save the profile by pressing save. We can launch our backup from the main window, selecting it from the drop-down menu and pressing backup